

How to: Miata Bumper Cut

Why would I cut my bumper? Simply put, your Miata’s rear bumper acts as a parachute. This can slow you down, increase lift, and reduce gas mileage. However, for most Miata owners these issues are hardly noticeable, and this mod will mostly be for aesthetics.
The size of the cut will also make a difference, but because I primarily drive my car on the street, my cut is designed to be simple, clean, and provide enough space for a rear diffuser. If you look around at the serious race Miata’s, you’ll find that most people just remove the rear bumper entirely for maximum efficiency.
To get started, make sure your car is parked on a flat and even surface. This will make the measuring much simpler.
Tools required:
- Dremel
- Cutting wheel
- Drum sander tips
- Masking/Painters Tape
- Marker
- Measuring Tape
- Phillips Head Screw Driver
- Ratchet w/ 12mm socket
Step 1: Unscrew the cover
Before we begin the cut, you will need to unscrew the back of the bumper cover from the bumper cover mount. Go to the rear of the car, and directly underneath the center of the bumper there are 5 Philips head screws. Remove them.

Step 2: Design your cut template
The goal of this step is to match the cut on the driver side of the car with the exhaust cut on the passenger side. My approach was to line up a sheet of paper with the outside edge of the bumper, then trace a line around the bottom of the bumper and around the cut out for the exhaust.
To get a good trace, I just folded the edge of the paper then traced the outline with a marker. Remove the paper from the car, then cut along the line you drew with your marker.

Step 3: Lay the cut template on the drivers side
Flip your piece of paper upside down, and use some masking tape to stick the template on the bumper. Since you traced the bottom edge, your goal here is to place the paper on the bottom edge of the bumper and the rest will naturally fall into place.

Step 4: Mark the bumper for a cut line
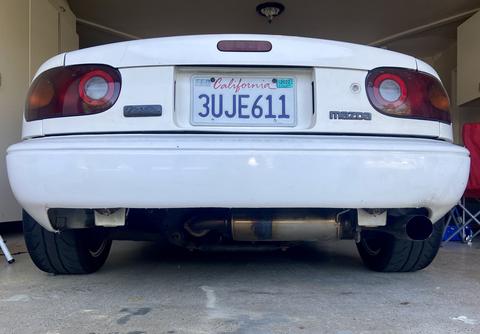
I like to double check my work, so before proceeding you should make sure your template is level. Measure from the ground, straight to the top of the exhaust cut out. This number will vary from car to car because of ride height, mine is 11 7/8".
Check this measurement on the driver side. It should be the same. Adjust your template if needed.
Once the two ends are even, use that same measurement to mark 5-6 places along the bumper with a marker. This will act as a point of reference for your masking tape.

Step 5: Lay masking tape for cut
Using your reference marks, lay the masking tape all the way across the bumper. The tape should sit directly on top of all of your marks. It will match up with the exhaust cut out, and your cut template on the drivers side.
Stand back and look at the line, it should be even and level. Adjust if needed.

Step 6: Cut the bumper cover
Time for the fun part! Using your Dremel and cut wheel, simply follow your cut line across the bumper.
You're cutting plastic, so wearing eye protection and long sleeves is recommended. The hot, melting plastic can be very annoying when it hits your skin or eyeball.

Step 7: Trim the bumper cover mount
Prepare yourself, this is the worst part. First, unscrew the 12mm bolt on each side of the mount. This next part is very simple in theory, but execution was time consuming and just an overall pain. Start trimming away the bumper cover mount. This thing is thick plastic, and takes some careful maneuvering to get out. I cannot stress enough, BE CAREFUL if you're using a dremel without any kind of blade guard. You are going to have to get yourself into some odd positions, so always make sure you are a safe distance from that spinning blade.

Optional Step 8: Paint the bumper mounts
I personally opted out of this step, because my rear diffuser covers this on my car anyway. If you plan on leaving them exposed, painting them black will give you a much cleaner finish.
That's it! Congratulations on joining the bumper cut club! Please reach out if you need any help hello@spikedperformance.com and tag us in your bumper cut photos on Social Media @spikedperformance